
Amaryllis Care: From Sleeping Bulb to Giant Flowers
Amaryllis plants are not just one-time wonders. Learn how to care for your bulb, trigger new blooms, and keep flowers fresh longer.
Amaryllis Care: From Sleeping Bulb to Giant Flowers
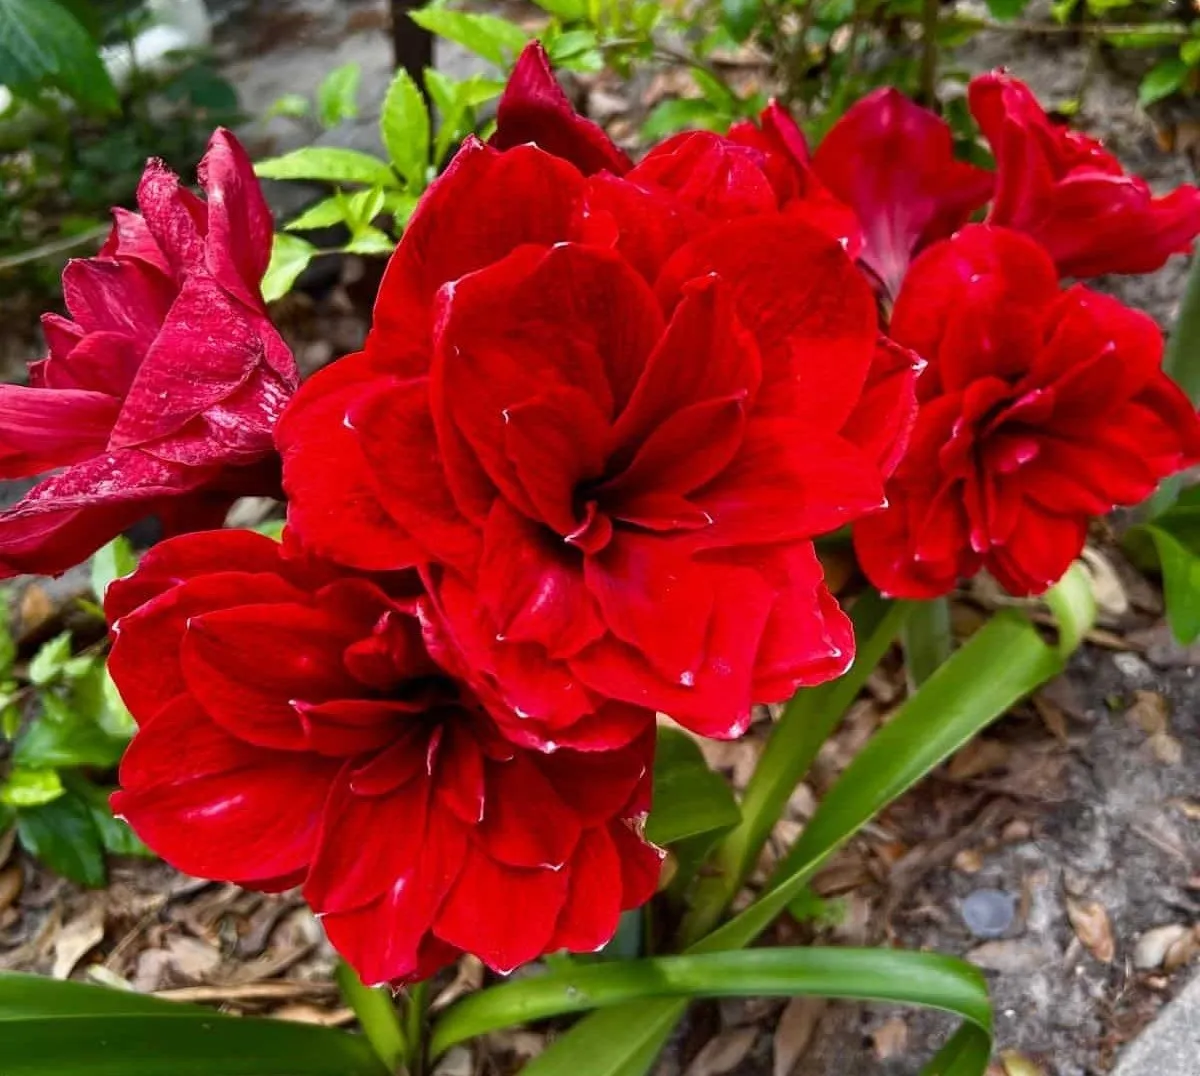
If you are looking for a plant that brings pure drama to your garden, the amaryllis is the undisputed queen. I bought my first red amaryllis bulb over five years ago. Every single season since, it rewards me with spectacular, massive blooms.
Many people treat these plants as disposable holiday decorations and toss them in the compost after they flower. That is a huge mistake. With the right care and a bit of observation, these bulbs will become lifelong companions on your windowsill or patio.
How the Amaryllis Bulb Actually Works
An amaryllis bulb is basically a living battery. It spends the entire year storing energy inside its fleshy layers to push out those giant trumpet-shaped flowers.
Last spring, I accidentally dug up a damaged bulb and saw how thick those internal storage layers really are. If you treat the plant right during its leafy growing season, it packs away enough power to surprise you again next winter.
My Proven Soil Mix to Prevent Root Rot
The fastest way to kill an amaryllis is using heavy potting soil straight from the bag. These roots hate sitting in soggy dirt. If the base of the bulb stays wet for too long, it turns to mush. Once bulb rot sets in, you cannot save the plant.
To fix this, you need a substrate that drains almost instantly. I use a specific recipe for all my indoor container plants: 40% standard potting soil, 30% coarse builder’s sand, and 30% perlite. This combination lets water rush past the roots while holding just enough moisture. Think of it as a highly breathable bed for your bulb.
Step-by-Step Planting Rules
Getting the bulb into the dirt is where many beginners fail. A pot that is too large holds too much moisture. Pick a heavy clay pot that is just two inches wider than the bulb itself. The snug fit encourages better root growth and keeps the top-heavy plant from tipping over.
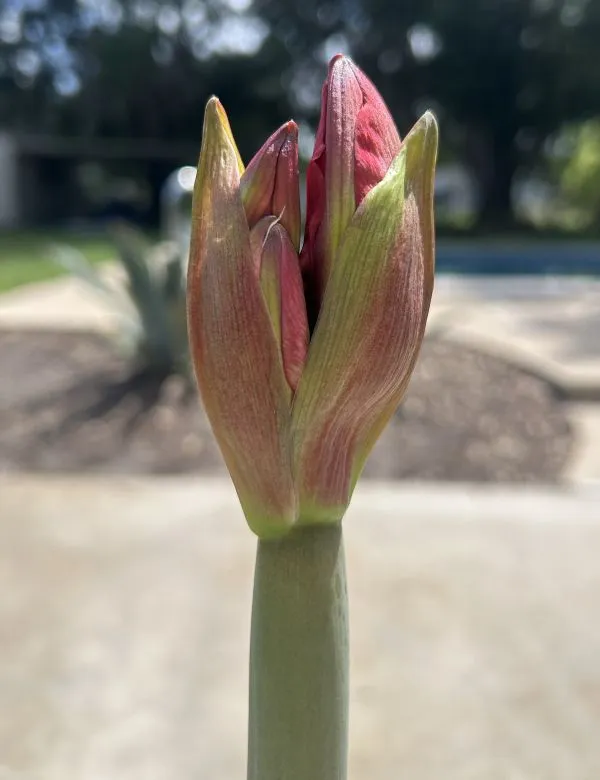
When you plant it, leave at least one-third of the bulb sticking above the soil line. Burying the whole thing is a guaranteed way to rot the neck. Press the soil firmly around the roots and give it one good watering to settle everything. Do not water again until you see the green tip of the stem emerging from the top.
Sunlight and the Watering Sweet Spot
Amaryllis plants are heavy sun-seekers. They need bright, indirect light to grow those long, strap-like leaves. Those green leaves do all the heavy lifting. Without them acting as solar panels, the bulb cannot recharge for the next blooming cycle. I keep mine near a south-facing window where they get plenty of morning sun.
When watering, hold back. You should water deeply only when the top two inches of the soil feel completely dry. Never pour water directly on the nose of the bulb. Pour it around the edges of the pot to keep the bulb neck completely dry.
The Dormancy Phase (Why Your Plant Needs a Nap)
This is the part most people get wrong. After the flowers fade and you cut the stalk off, the plant needs to rest. This dormancy period forces the bulb to reset and produce a new flower stalk.
Around late summer, stop watering entirely. The leaves will start to yellow and flop over. Let them wither naturally. The plant is pulling the last bits of nutrients from those leaves back down into the bulb. Once the foliage is brown and crispy, cut it off.
Move the dry pot to a cool, dark place. A basement or a dark closet works perfectly. The ideal temperature is around 55°F (13°C). Let it sleep in total darkness for eight to ten weeks. After that rest, bring it back into a warm, bright room, give it a drink, and watch the cycle start all over again.
Florist Secrets for Longer Blooms
You can easily trick your amaryllis into holding its flowers for a longer time. I learned this trick from a commercial grower and use it every single year.
Look inside a newly opened flower. You will see the little anthers covered in yellow pollen. The biological purpose of a flower is to get pollinated. If that pollen reaches the center stigma, the plant thinks its job is done. The petals will drop quickly so the plant can focus on making seeds.
Take your precision shears and snip off those yellow pollen tips as soon as the flower opens. This prevents pollination. Because the flower is still waiting to be pollinated, it stays vibrant and open for several extra days. Plus, it stops that yellow dust from staining your furniture or the bright red petals.
Dealing with Common Bulb Problems
Even with the best care, things can go sideways. The most common issue is a fungal infection called Red Blotch disease, which creates red, rust-like spots on the leaves and bulb. It happens when the air is too humid and circulation is poor. If you see it, wipe the leaves with a mild copper fungicide and move the pot to a draftier spot.
Fungus gnats are another annoyance. They love the moist topsoil of indoor plants. I eliminate them by adding a half-inch layer of decorative gravel on top of my soil mix. It stops the adult gnats from laying eggs in the dirt.
Essential Routine Checklist
- Use a balanced bulb fertilizer every two weeks while the green leaves are growing.
- Stop feeding the exact moment you notice the leaves yellowing for dormancy.
- Check the firmness of the bulb monthly. A healthy bulb feels solid, like a raw onion. A soft bulb means you are overwatering.
My Top Picks for Amaryllis Care
If you want to start a collection or upgrade your bulb care kit, these are the exact supplies I keep in my potting shed:
- Red Amaryllis Bulb: View on Amazon
- Premium Fast-Draining Perlite: View on Amazon
- Balanced Bulb Fertilizer: View on Amazon
- Precision Pruning Shears: View on Amazon
- Recycled Glass Bulb Vase: View on Amazon
Start treating your amaryllis like a perennial instead of a throwaway decoration. Once you get the watering rhythm right, you will enjoy a massive flush of color in your home exactly when the rest of the garden is asleep.